Matonela® Terrazzo tiles
Installation Process:
There are two widely used approaches for the installation of Matonela® terrazzo tiles. The first method involves applying a thin layer using a high-elasticity marble / granite adhesive, while the second method employs a thick layer using polymer modified stone and marble mortar. When undertaking the installation process, it is advisable to exercise utmost caution and meticulousness in order to maintain a clean floor.
1. Thin layer installation
High performance elastic polymer-modified cement–based tile adhesive class C2TES1 (or C2TES2) is recommended for Matonela® terrazzo floors (contact us for more information).
The floors on which Matonela® tiles are going to be installed, should be flat, stable and clean of foreign substances (dust, grease, varnishes, waxes, etc.). The (concrete) surface has to have been poured several days before installation, in order to cure properly. It is recommended to lay Matonela® tiles on a screed floor base.
Prepare the tile adhesive according to the manufacturer's requirements.
Apply a thin layer of adhesive on the floor, so as to impregnate it. Then immediately apply with a toothed spatula (tooth of at least 10 mm), the necessary amount of adhesive.
After the wetting of Matonela® tiles, place them immediately on the adhesive.
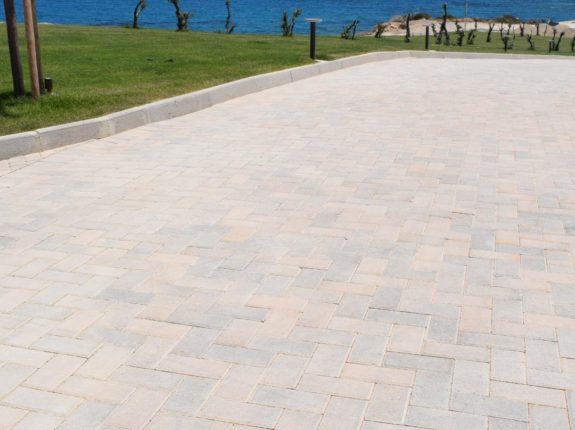
For outdoor installation, it is recommended to create expansion joints (also on the floor screed base) every 10 m which will later be filled with elastomer.
2.Thick layer installation
Prepare a mixture with the following ingredients and dosage.
- one part of Portland grey cement.
- 2-3 parts of fine crushed (quarry) sand.
- Styrene butadiene latex according to manufacturer's recommendations (indicatively MAPEI Planicrete)
OR use a ready-mixed polymer modified stone and marble mortar.
Add water until the mixture becomes fluid and can be spread with a trowel.
Spread the mixture on the floor, in small parts, so that you can place one Matonela® tile at a time. The thickness of the mortar should be 2-3cm.
Place one Matonela® tile at a time by tapping it lightly and press it by hand in small rotational movements to bring one close to the other.
Before laying the Matonela® tiles, you need to moisten the concrete screed, slightly.
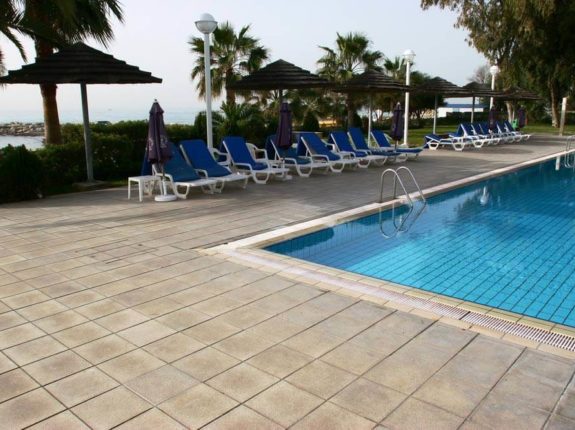
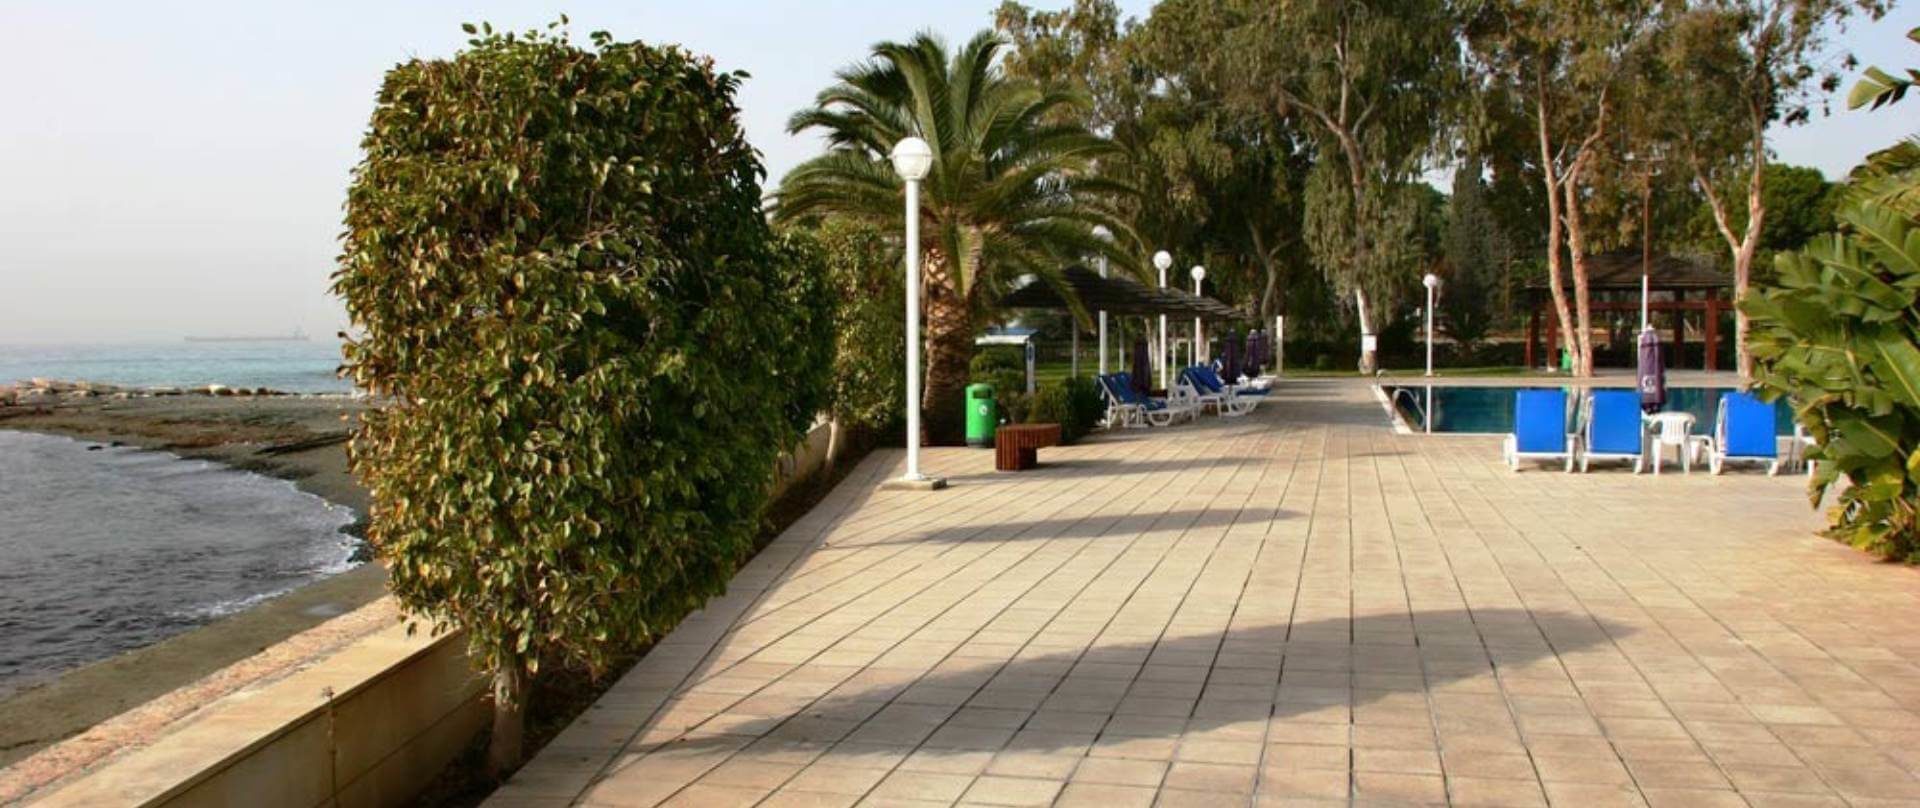
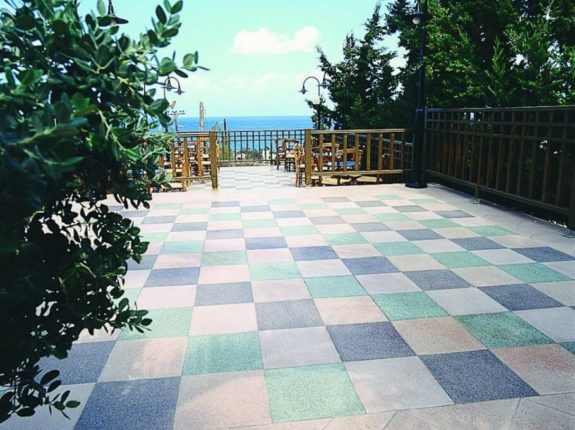
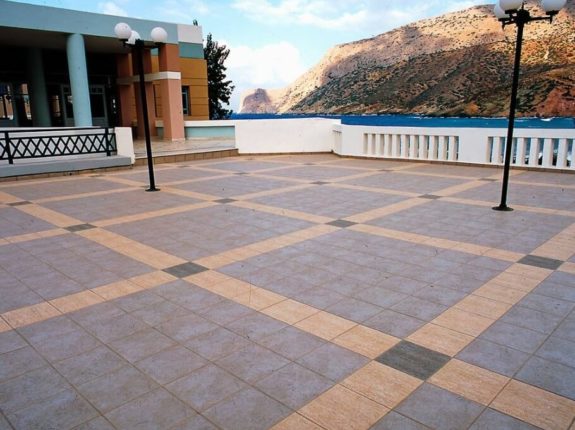
For Matonela® tiles for interiors (Polished or Antique), installation may be performed with or without leaving joints. For outdoor Matonela® tiling (Natural or Shot-blasted), leaving a joint of 10mm or larger and grouting with grey grout (without addition of pigment) for large joints is highly recommended.
What to watch out for
For a perfect aesthetic result, it is recommended to clean the floor thoroughly and seal, before grouting, with a waterproofing impregnating sealer.
The joints must be thoroughly cleaned before filling with grout and then, excess grout should be immediately removed.
- It is preferable to lay grout of the same color so that there are no lesions on the surface of the tiles.
- In case of installation of light colored Matonela® tiles (white, ochre, etc.) care must be taken to ensure that the grout is also light in color as there is a chance that darker grouts will stain the tile (which is then difficult to clean).
- To clean excess grout from the surface of Matonela® tiles (Natural and Sandblasting), use a hard brush (plastic) and not a sponge since it does not penetrate the uneven surface of these 2 types of Matonela®.
For Natural and Shotblasted Matonela® tiles we recommend:
Wide joints, greater than 10 mm.
Very good cleaning (of glue residues, possible stains or dusts) because otherwise the waterproofing will trap whatever is on the Matonela, making subsequent cleaning quite difficult.
Sealing with an impregnating sealer(Imp Dense Surface).
Use a coarse grout (suitable for wide joints, larger than 10 mm) after 24 hours. Clean excess grout immediately with a stiff plastic brush and water.
For Antique and Polished Matonela® we recommend:
Proper cleaning (from tile adhesive residues, stains and dust).
Sealing with an impregnating sealer (link to imp dense).
Grouting 24 hours after applying the impregnating sealer.
Alternatively, for Antique Matonela® tiles, and for Polished Matonela® tiles we recommended:
Good cleaning (from glue residues, possible stains or dusts).
Wetting with a sponge and grouting with grout of the same color (or white). Next, cleaning with a sponge.